Disk X-Ray
Open it from the button at the top of the menu bar popover.
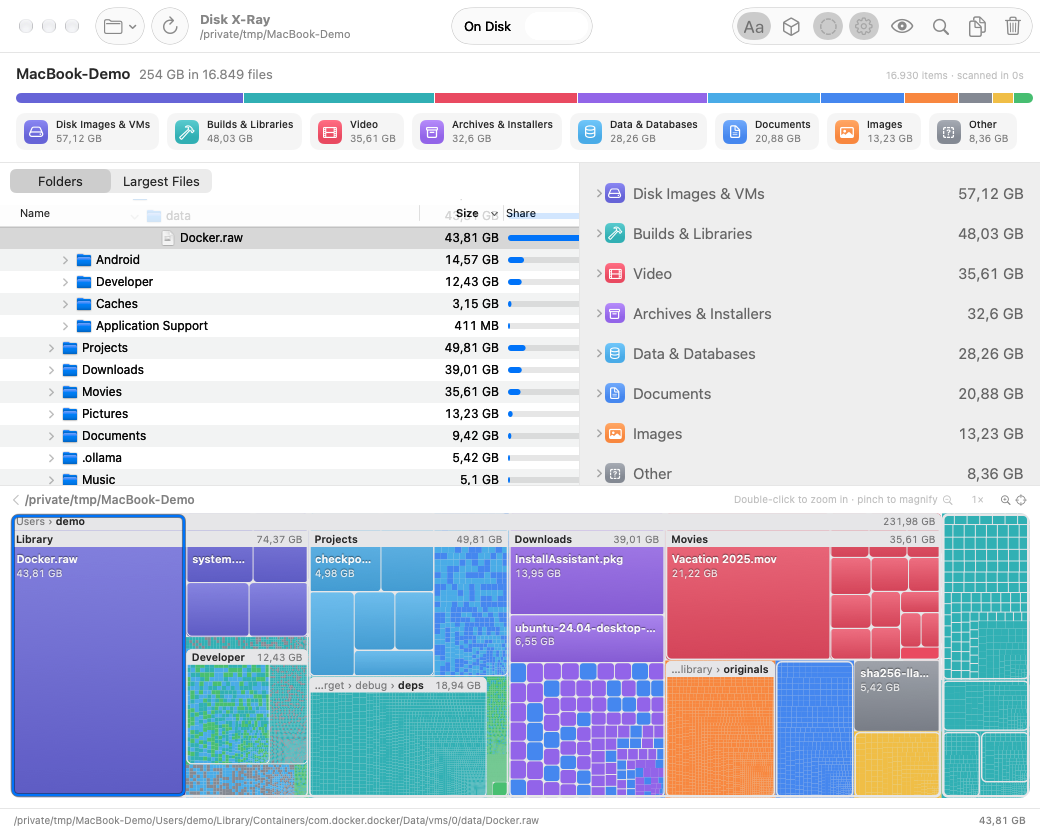
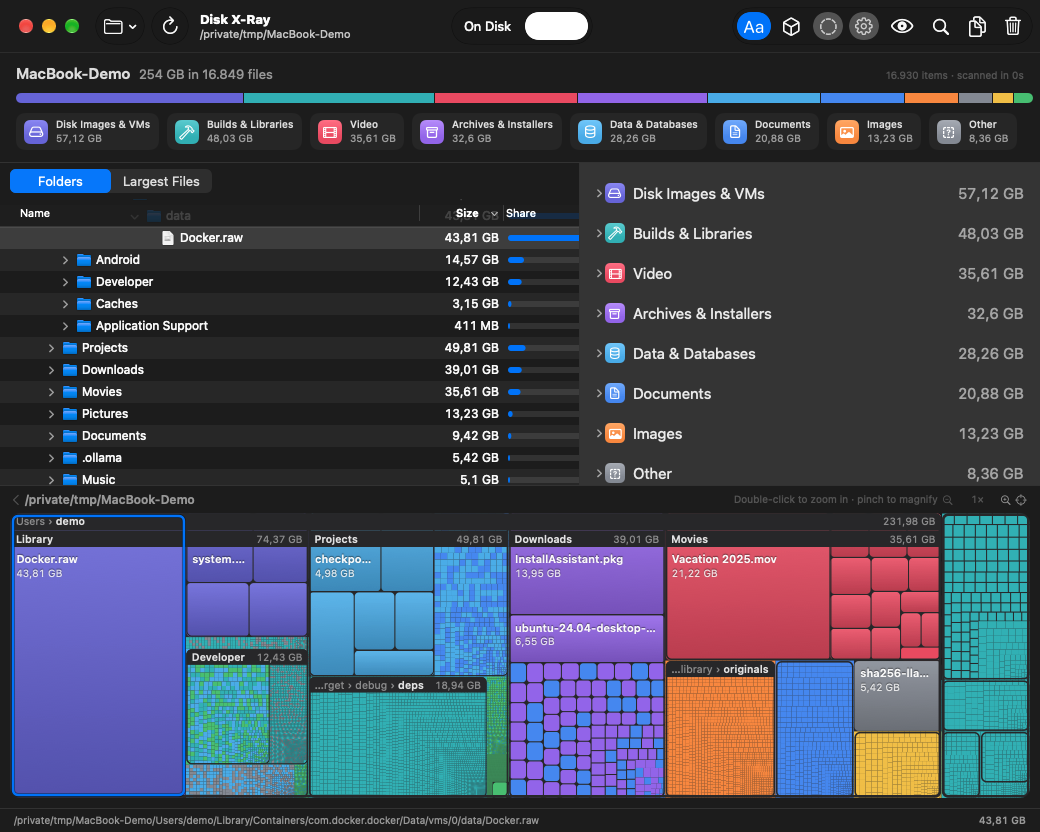
What you see
- Summary — disk used and free, a bar split by file type, and a card per category (video, images, source code, builds & libraries, disk images & VMs, data & databases, archives & installers, documents, audio…). Click a card to highlight that type in the map.
- Folders — a native, sortable tree (size, share of the parent folder, files, modified). It stays fast with millions of items.
- Largest Files — the biggest files anywhere on the disk.
- Types — every category and its extensions with sizes and file counts; click one to highlight it.
- Map — a treemap where every file is a tile sized by how much space it takes and colored by type. Large folders get a header with their name and size.
3D map
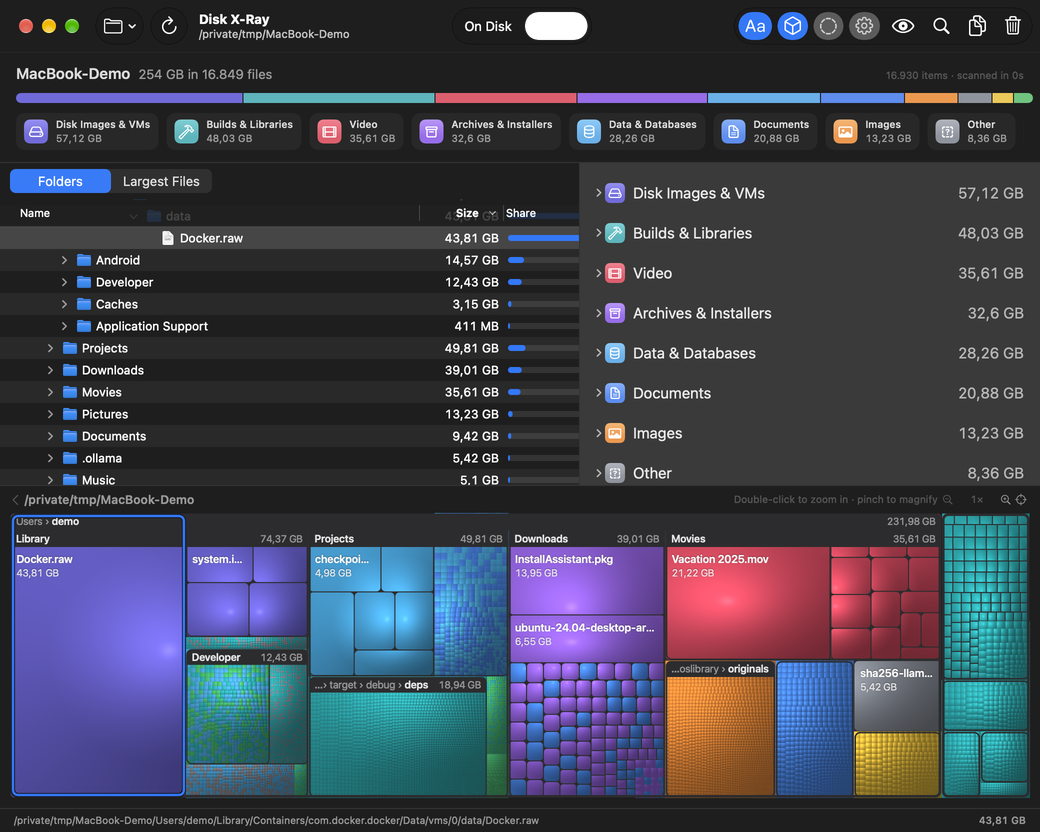
Turn on the 3D button in the toolbar and the map is drawn on the GPU with Metal as lit cushions (van Wijk & van de Wetering's cushion treemap, the classic WinDirStat look): every file is a small pillow lit from the top left, and the creases between pillows show where one folder ends and the next begins. The relief is the same at any magnification and stays sharp frame by frame while you pinch or pan. Everything else — selection, labels, magnifier, tree — works the same as in 2D, which stays the default.
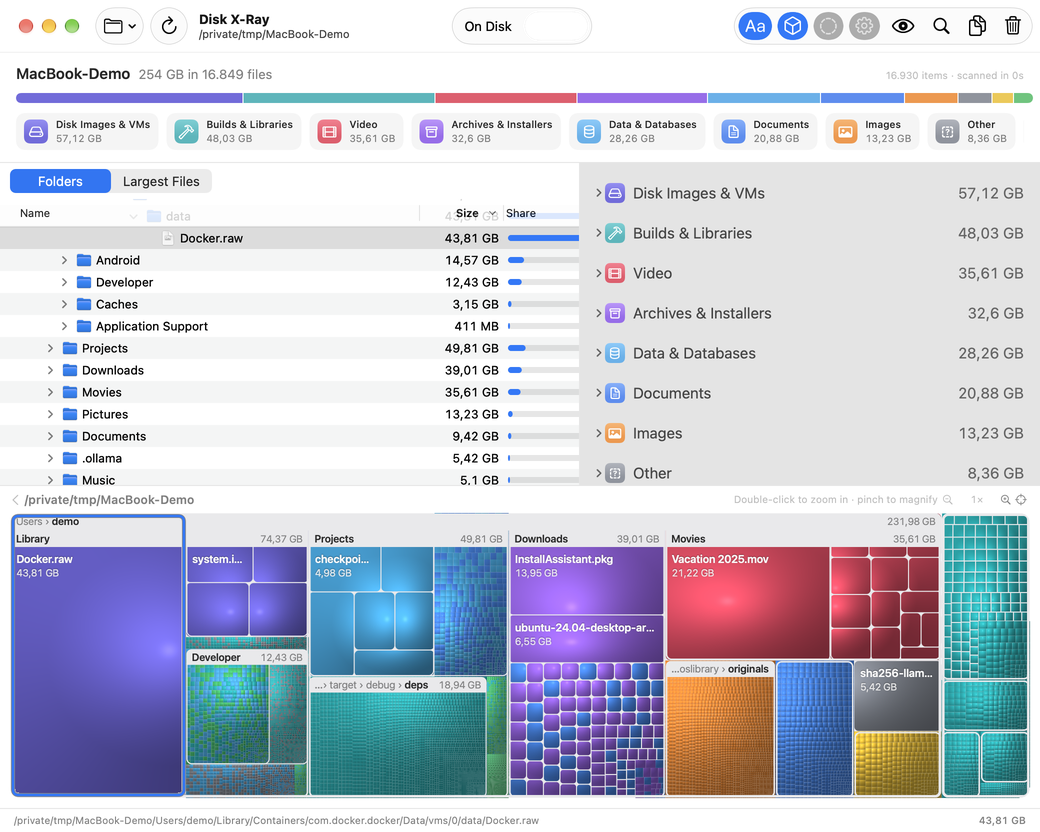
Using the map
| Action | Result |
|---|---|
| Click | Select the file or folder (the tree follows) |
| Double-click | Zoom into that folder |
| Breadcrumb / ⟨ | Go back up |
| Scroll (trackpad) | Select parent / child |
| ⌘ + scroll | Zoom in / out |
| Pinch (trackpad), mouse wheel or ⌥ + scroll | Magnify the map around the pointer — small files get their own tiles and labels, down to 1 KB. Works without clicking the window first |
| ⌘ + Return / right-click → Magnify to Fit | Fly to the selected file or folder, however small it is |
| Select in the tree or Largest Files | The map goes to it: magnifies just enough to read a small item (at most until its folder fills the map), zooms out to fit a big one, or only slides if the size is fine. Items too small to outline — or empty files — get a pin with their name and size |
| Two-finger double-tap | Toggle 4× magnification |
| Scroll or drag (while magnified) | Pan — release a drag mid-motion and the map glides |
| ⌘ + / ⌘ − / ⌘ 0 | Magnify in / out / actual size |
| Right-click | Quick Look, Open, Show in Finder, Copy Path, Move to Trash |
| Rest the pointer on a block | Its name and size pop up on a little flag, like a tooltip |
| Space | Quick Look the selection |
Options in the toolbar
- On Disk / Logical — On Disk is the space files actually occupy; Logical is the size they report. They differ for sparse files (a Docker disk image may report 500 GB and use 30 GB) and compressed files.
- Free and System — add the free space and the space the scan cannot read (macOS itself, Preboot, swap, protected folders) to the map, so the whole disk adds up.
- Scan target — the whole disk or a folder of your choice.
- Labels — names on the blocks and folder headers, in 2D and 3D. Off, the map is clean and names show only in the tooltip.
- 3D — draws the map on the GPU (Metal) as lit cushions: every file is a small pillow and folders show as creases, so the hierarchy reads without frames, and zooming stays sharp frame by frame. Names sit on the blocks as in 2D, and resting the pointer on a block pops up its name and size on a little 3D flag, like a tooltip. Off, the map is the flat 2D one. The choice is remembered.
How it is fast
The scanner reads each folder in bulk with getattrlistbulk(2) — names, sizes and dates for hundreds of entries per system call — using several threads tuned to the Mac (one per core on SSDs, fewer on spinning disks and network volumes). On a 10-core Mac it reads ~3 million items in about 16 seconds. Hard links count once and virtual mounts (like a connected iPhone) are skipped.
Full Disk Access
Without Full Disk Access some protected folders cannot be read; their space shows up under System. Grant it in System Settings › Privacy & Security › Full Disk Access.